Sunday, March 3, 2013

diy ottoman from a pallet


This has to be my favorite Pinterest project to date.  I have been looking for a large tufted ottoman that would complement our living room decor and fit the space well.  There was one ottoman in particular that caught my eye on Amazon but was in the neighborhood of $400.  Not really a realistic budget for us. 


I remembered seeing a tutorial on turning a pallet into an ottoman on Pinterest and somehow talked Matt into spending a weekend working on this impromptu project with me. So here we go!


I won't detail our step by step instructions because overall we followed this tutorial from Domestic Superhero who does a much better job than we ever could describing the step by step process. The biggest change we made to our ottoman compared to the tutorial from Domestic Superhero is the size, we did not cut down the pallet at all-we used the whole thing (it measures almost 40in x 40in) because I really wanted an oversized ottoman. This meant that our fabric was not wide enough to stretch all the way down to the pallet so we essentially created two separate pieces and used liquid nail to adhere them together. This might make a bit more sense with some pictures of the progress:
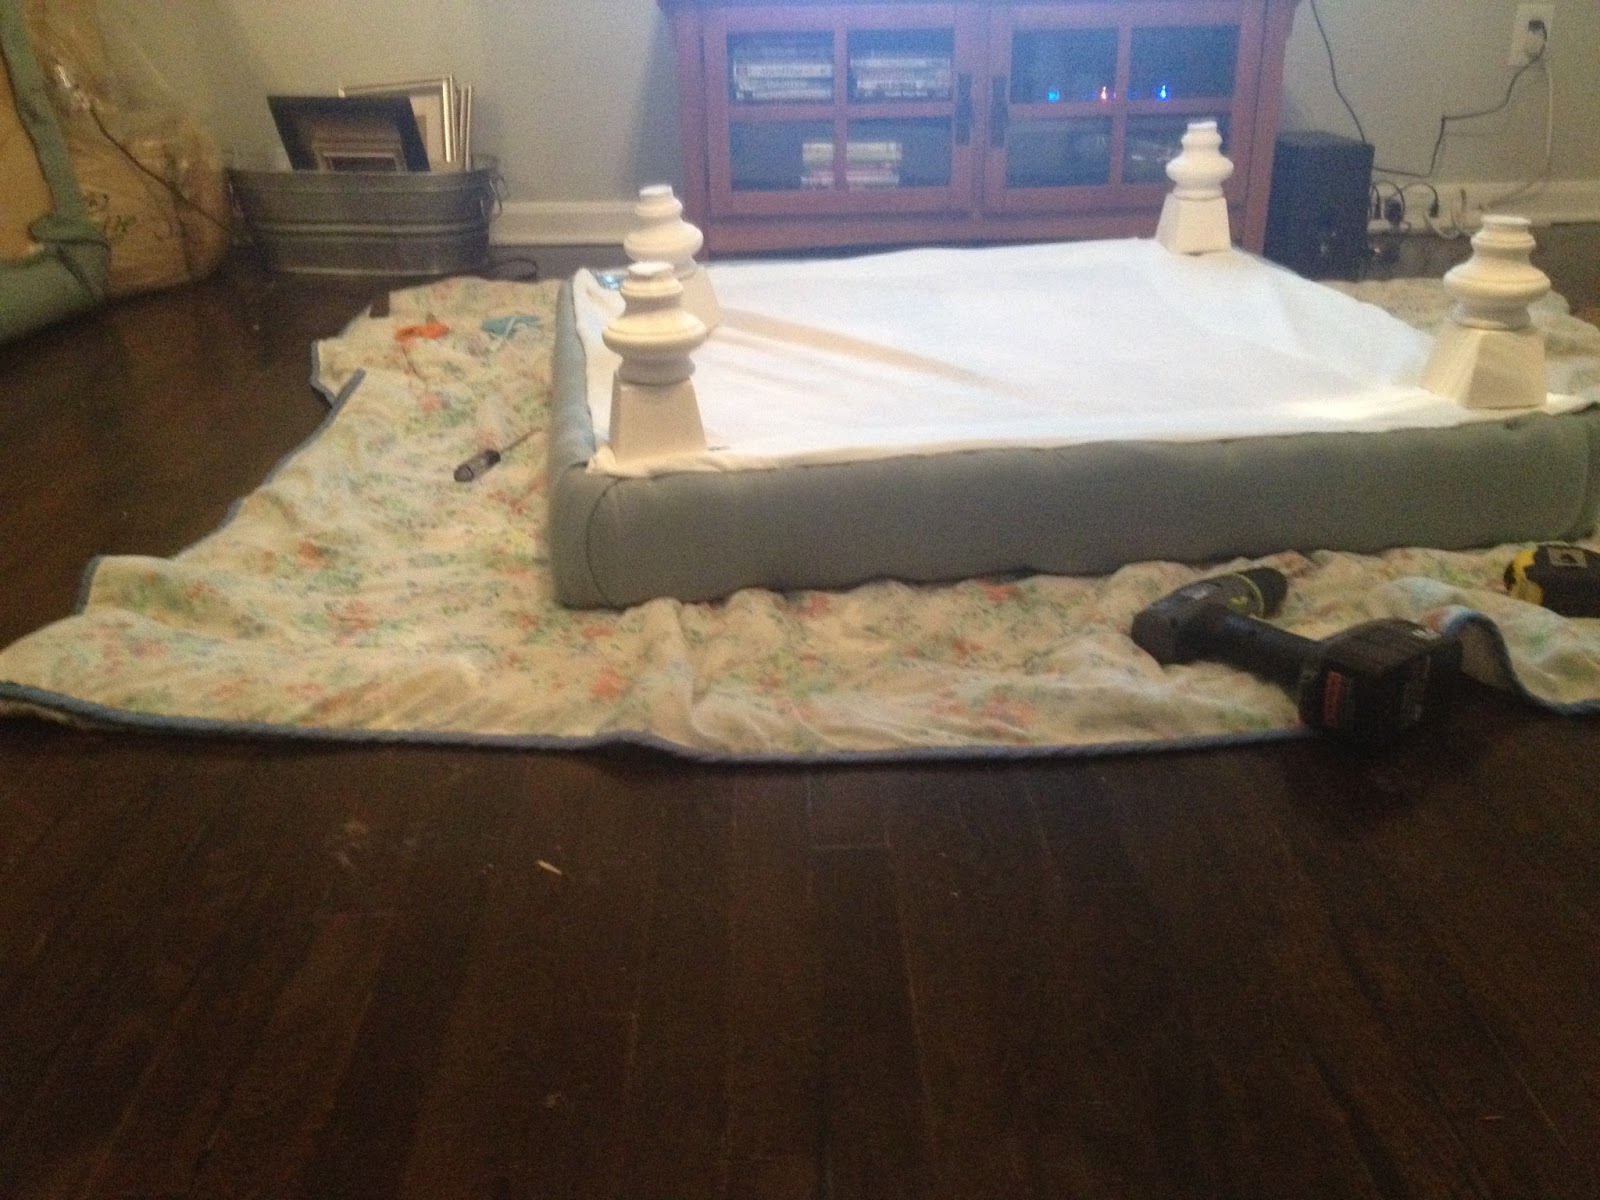


The picture above is the half of the ottoman that contains the pallet, we lined the sides with foam and covered the foam with fabric and attached the legs to the bottom of the pallet.

And this picture above is the top half of the ottoman, consisting of particle board, tons of foam and batting material and fabric overlying all of the that.  Word to the wise, more foam=more strength required for tufting.  I thought I would be able to tuft this by myself but Matt ended up having to do it for me.  That being said we love that we spent a little more on the extra thick foam and it was well worth the effort for the end result.


Here it is in our living room, I love the way it fills the space and coordinates with the rest of the living room without being too matchy-matchy.  All things said and done we spent about $180 on this project, due to the sheer size of it we needed a TON of foam ($$$-make sure you use a coupon for Hobby Lobby or JoAnn's for this), batting, and fabric  This can definitely be done for less if you choose to make a smaller ottoman!

Thanks for stopping by!

xo,
Steph

Wednesday, December 5, 2012

Movin' On Up

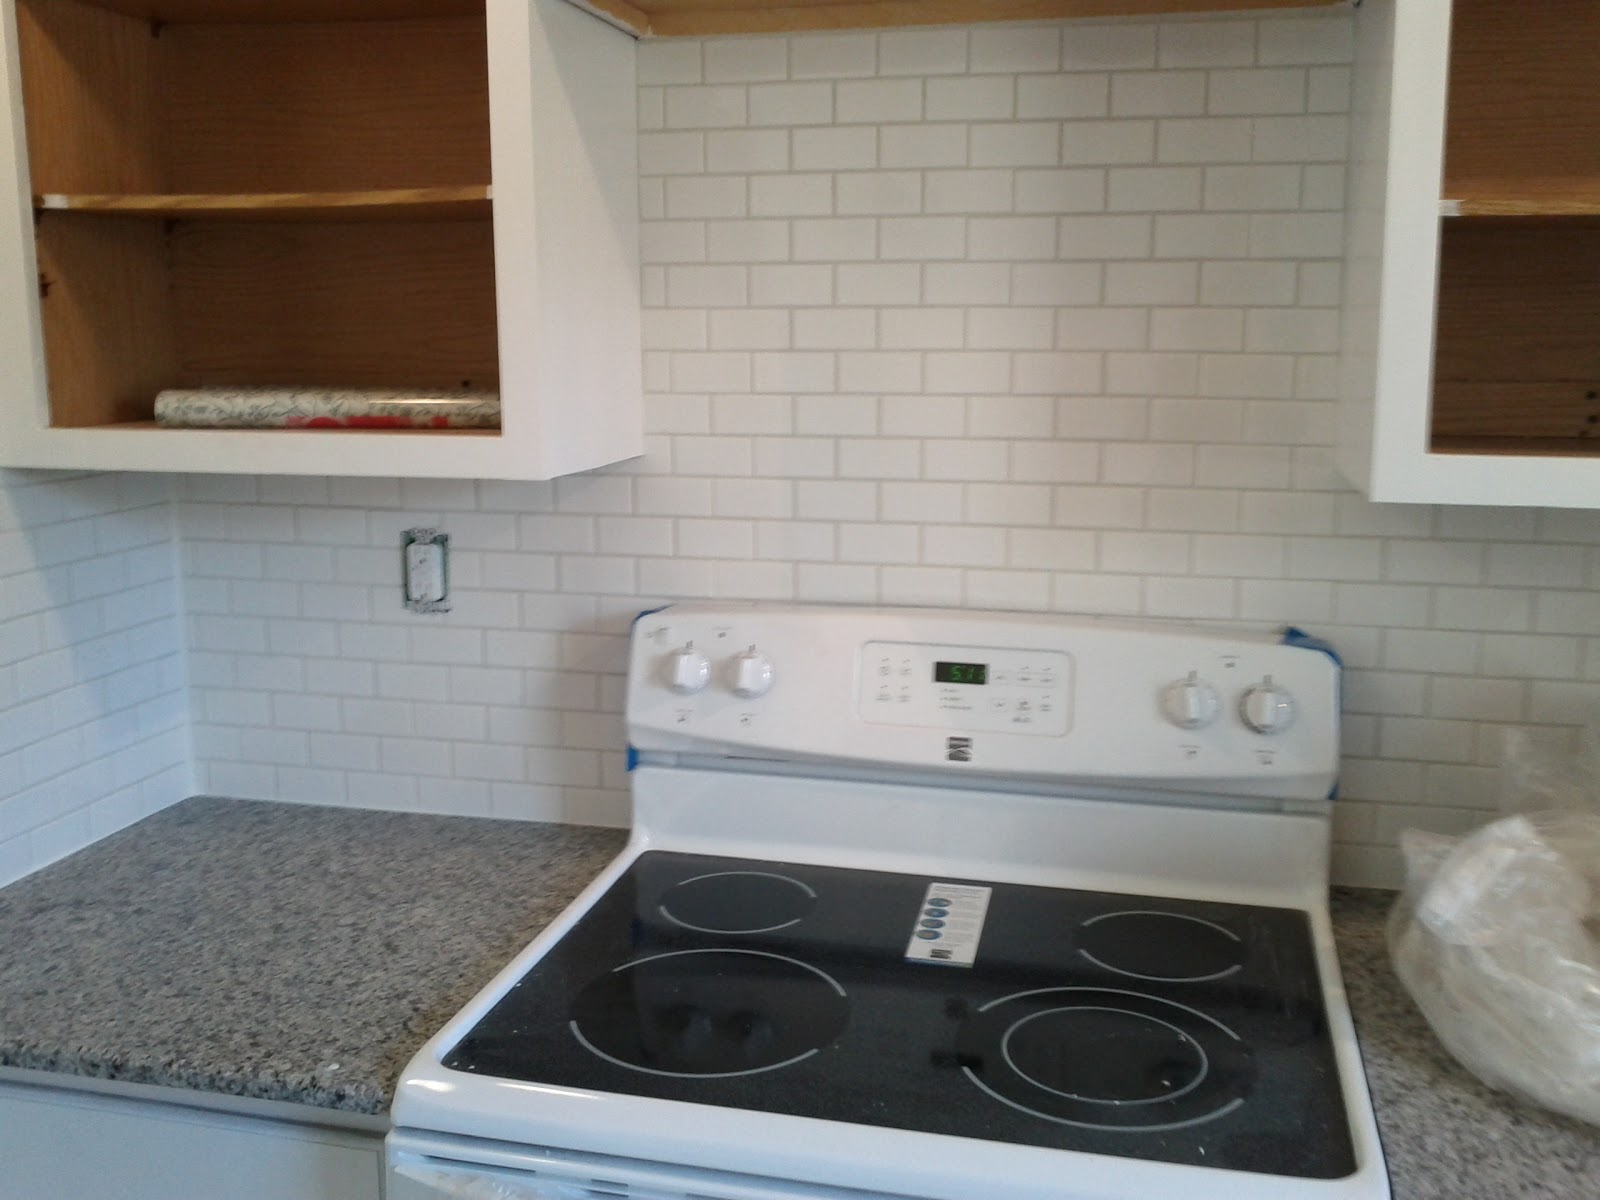
We are moving right through our kitchen checklist!  Kitchen cabinet doors are starting to go up...

These were taken at night on a cell phone camera so the quality isn't the best but we have obviously come a long way from where we started when we saw the house for the first time:


More to come!

xo,
Steph

Friday, November 30, 2012

Closing One Door

I'm starting to pack up our apartment in Roanoke. It's sad.  And exciting. I will miss Roanoke and our apartment on Washington Ave.  I took some pictures today of how it looks now since it will probably start to look different (and feel less like home) with each box I pack.

The Kitchen:


The bedrooms:

The dining room:


& the office:


I'll miss the character of this apartment. It has been a quaint and safe place to live while going to school and we have so many pleasant memories here.  I'll miss being two seconds away from a dog park (as will Ace and Avery).  However, I won't miss washing all of our dishes by hand or going to the laundry mat/dragging our clothes home when we visit our parents.  I'm excited to truly make our new home our own; as renters it just hasn't made sense to invest time or money in painting and other updates to our apartment that would have made it more our own.

xo,
Steph

Thursday, November 29, 2012

Updates!

Less than a month until we will (hopefully) move into our house!  There has been lots of progress this week.  First, here is an updated photo of the exterior of our house:


Updates inside over the past few weeks include new Azul Platino granite countertops which we ordered from Home Depot.  The installation went smoothly and I love the way they look.
Just ignore the yucky wall.  It is looking much better these days since it has been tiled with this white subway tile:
In the kitchen we still have to reattach cabinet doors with their new hardware, install our over the range microwave, install the dishwasher, and paint trim.


We also found flooring for the lower level of the house this past week.    This part of the house is actually on a concrete slab and had been carpeted previously and used as a living room:


We want to use this room (which is adjacent to the kitchen) as a dining room and carpet was not really an option for this reason. Mom, De, and I went to Lumber Liquidators to look for flooring options.  Our options were limited to those that were considered "floating" or do not attach to a subfloor and something that would be resistant to high moisture. Floating floors include laminate as well as some bamboo flooring.  We ended up picking bamboo flooring because it is more resistant to moisture than laminate and can be refinished and touched up when necessary whereas laminate when scratched or damaged must be replaced.  The flooring we picked out is in the middle in the picture below:

The hardwood floors on the upper level of the house will be refinished and stained a darker color similar to this in the next one-two weeks.

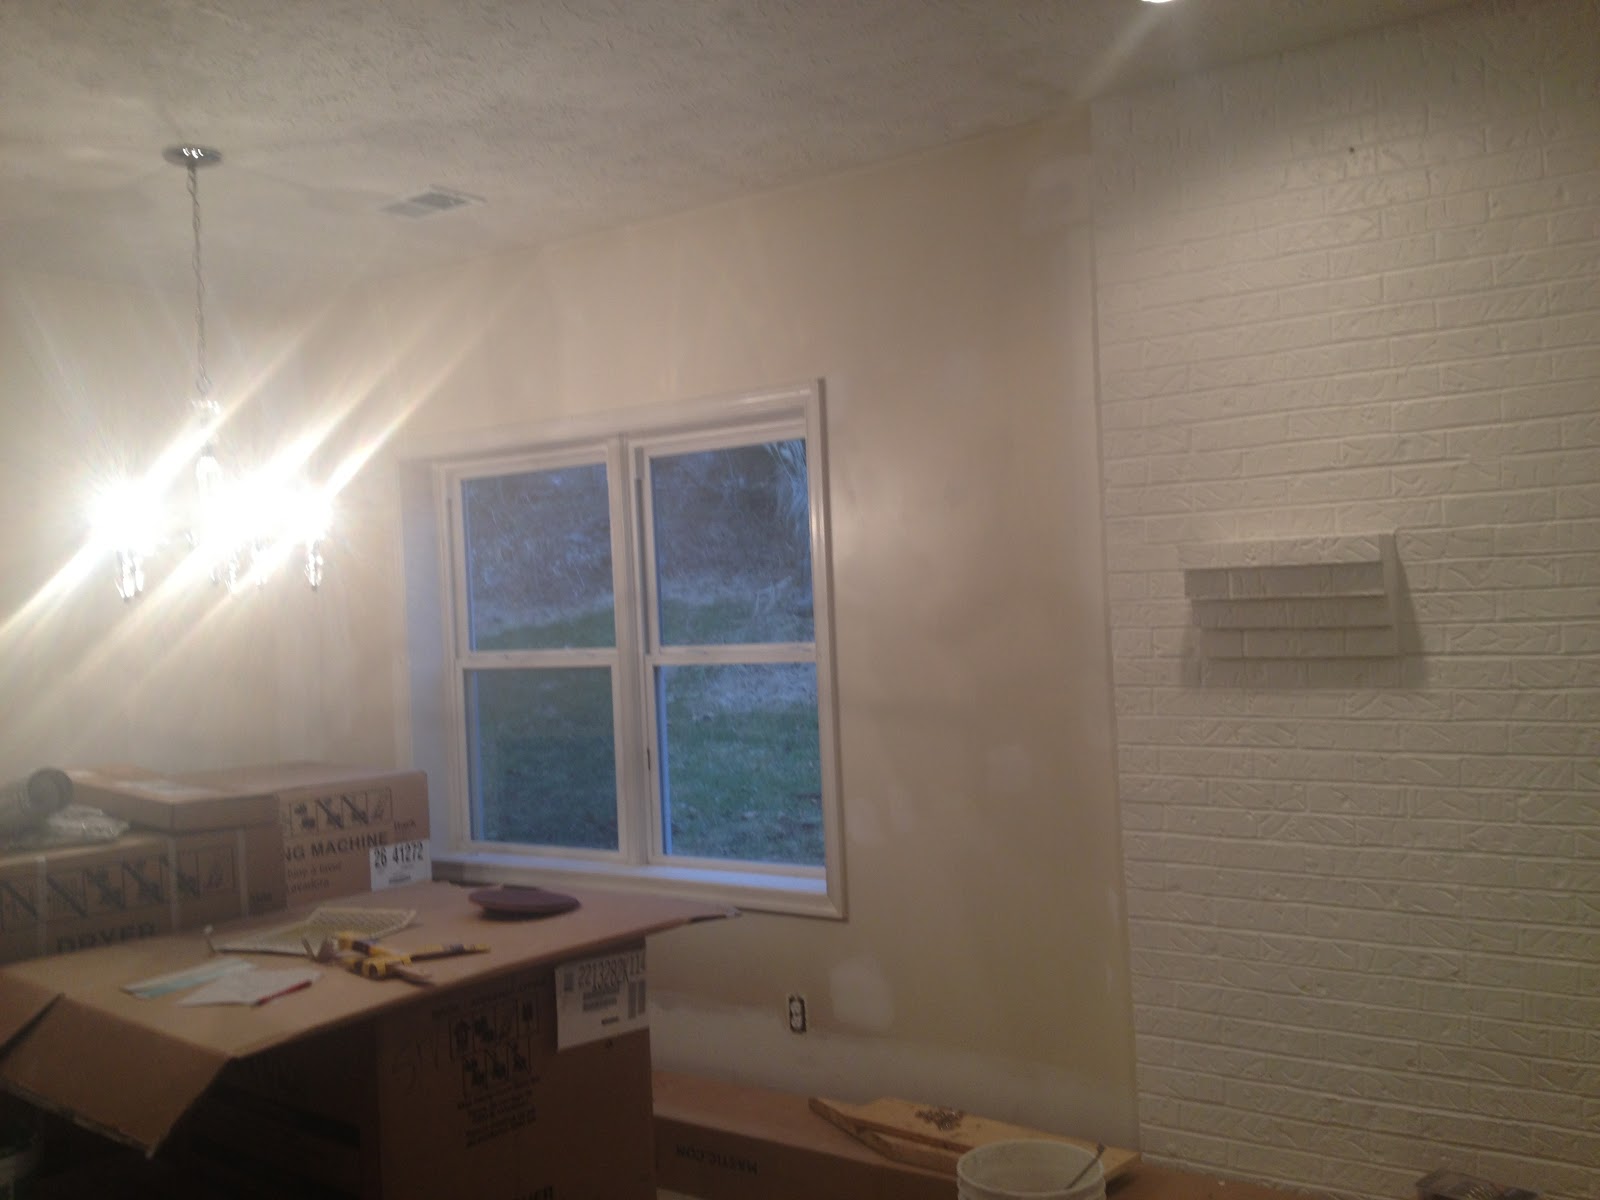
Another big change in this room was removing the woodstove and some of the bricks around the fireplace.  Not everyone would have made the decision to remove the woodstove, you certainly can't beat the heat they provide but for us the location of the woodstove made it an eye sore very non-functional.  


The room now looks like this:

We still have a long way to go in here.  We love the changes so far, adding recessed lighting above the fireplace and a light fixture over the dining room table where the dining room table will eventually go as well as painting the fireplace white has made a huge difference in how light and bright the room feels.  We still need to sand and stain the wood mantle and mount it again to the fireplace, install the bamboo floors, as well as paint the dining table which was a $75 craigslist find.

I think that is all the updates for now.

xo
Steph


Tuesday, November 13, 2012

Bathroom Inspiration

Our new house has one full bath and one half bath and both were small but functional at the time of closing.  Now they are completely non-functional (read: everything is ripped out) (& soon they will be functional & pretty).  So today I am trying to remember that it has to get a little crazy before it gets better. This post from Young House Love reminded me of that.  While I was thinking about how crazy it gets in "the middle" I thought it might be helpful to remind myself where we are going (i.e. the toilet won't always be in the living room).

Before that can happen though, this is where we started:

Matt was really not a fan of the salmon colored tub. Fortunately, it's gone now.


Our checklist in here looks something like this:
-remove baseboard heater
-remove old tub
-install new tub and tub/shower fixtures
-remove toilet and vanity in order to demo tile
-remove tile
-paint
-install new tile
-install beadboard
-replace vanity with pedestal sink
-sew a simple roman shade for the window


1.  We found this mirror to pair with our new pedestal sink.  We purchased a Kohler pedestal sink (found at our local Habitat Restore) to replace the larger vanity.  When we removed the old vanity we discovered that it had never actually fit into the space and a significant amount of damage had been done to the sheetrock to force it to fit so replacing with a smaller pedestal sink was a much better option.

2.  A pretty picture found here on Pinterest.  I love the way the light blue and the white beadboard lighten up this room.

3. Blue hydrangeas are the inspiration for the colors in this room.

4.  Pretty white tile will help the lighten this room up as well.

5.  Another inspired room from Pinterest.

6. I love these apothecary jars as a pretty way to display bathroom essentials.

7.  And a possible paint color.  Hopefully, we will pick a color out this weekend and start painting!

xo
Steph

Tuesday, November 6, 2012

Living Room Inspiration

When we first saw the living room it was a little dark. The living room lacked a ceiling light...there was a switch to an outlet for a floor light but adding a ceiling light fixture will really help brighten up the living room. The electric baseboards have since been torn out and the hardwoods will be refinished before we move in.  Other than that the changes in this room are just decor.  So simple compared to demolishing walls and painting cabinets! This is how the room looked when we were house hunting:


The current condition of our living room is a mess compared to the photos shown above.  I am pretty sure we have a toilet sitting in the middle of the living room due to both bathrooms being in the process of a complete overhaul as well.  But a girl can dream.  So here is where I hope to see our living room go from here.


1. This pretty coffee table from Pier 1 would be a pretty option without spending too much $$ on new furniture. I love the coastal cottage feel of the antique white with the pewter handles.

2.  LOVE this rug.  This was the first item I purchased for our new living room. I loved it so much I thought why not work around it?  This was a purchase from Joss & Main. The event has closed but rugs similar to this pop up all the time on other events.

3.  Possibly a future DIY project vs. a future Joss & Main purchase.  If we decide to do an ottoman instead of a coffee table I love the tufted look of this one.

4.  I love the look of drapes hung high overlying bamboo roman shades.  I found this inspiration picture here.

5.  This gray sectional from West Elm would make for pretty and comfy living room seating.

6.  I love the colors in this room from House of Turquoise.  

7.   I found the fabric for our living room curtains here.  I have already made two curtain panels and four envelope style pillow cases with this fabric.  The best part was this project cost less than $60. The damask curtain fabric and the graphic rug will be the "bolder" aspects of this room and I plan to keep the walls, sectional, and other details more neutral.

8. Blue, gray, and crisp white.  Something about this palette I find so soothing.  I found this inspiration picture here.

9.  Love the soft blue hydrangeas and colors in this room.

10.  I found a chandelier on Pottery Barn's website that I loved.  Then I found it on Overstock for much less and loved it even more!

11.  Love the color and simplicity of this fabric.
  
12. A pretty gray for the walls.

13.  This sectional from Haverty's is the perfect neutral gray.

Now to get that toilet out of the living room...

xo
Steph

Monday, November 5, 2012

Exterior (More Progress)

Just wanted to share this picture that made me SO happy today. I  love seeing progress. The vinyl cedar shake looks great on the new false gable.  Can't wait to see it with shutters, a new stencil crete pathway, and the finishing touches on the front porch! It is so fun to see our vision slowly take shape.

And just in case you forgot where we started:
xo
Steph