


I won't detail our step by step instructions because overall we followed this tutorial from Domestic Superhero who does a much better job than we ever could describing the step by step process. The biggest change we made to our ottoman compared to the tutorial from Domestic Superhero is the size, we did not cut down the pallet at all-we used the whole thing (it measures almost 40in x 40in) because I really wanted an oversized ottoman. This meant that our fabric was not wide enough to stretch all the way down to the pallet so we essentially created two separate pieces and used liquid nail to adhere them together. This might make a bit more sense with some pictures of the progress:
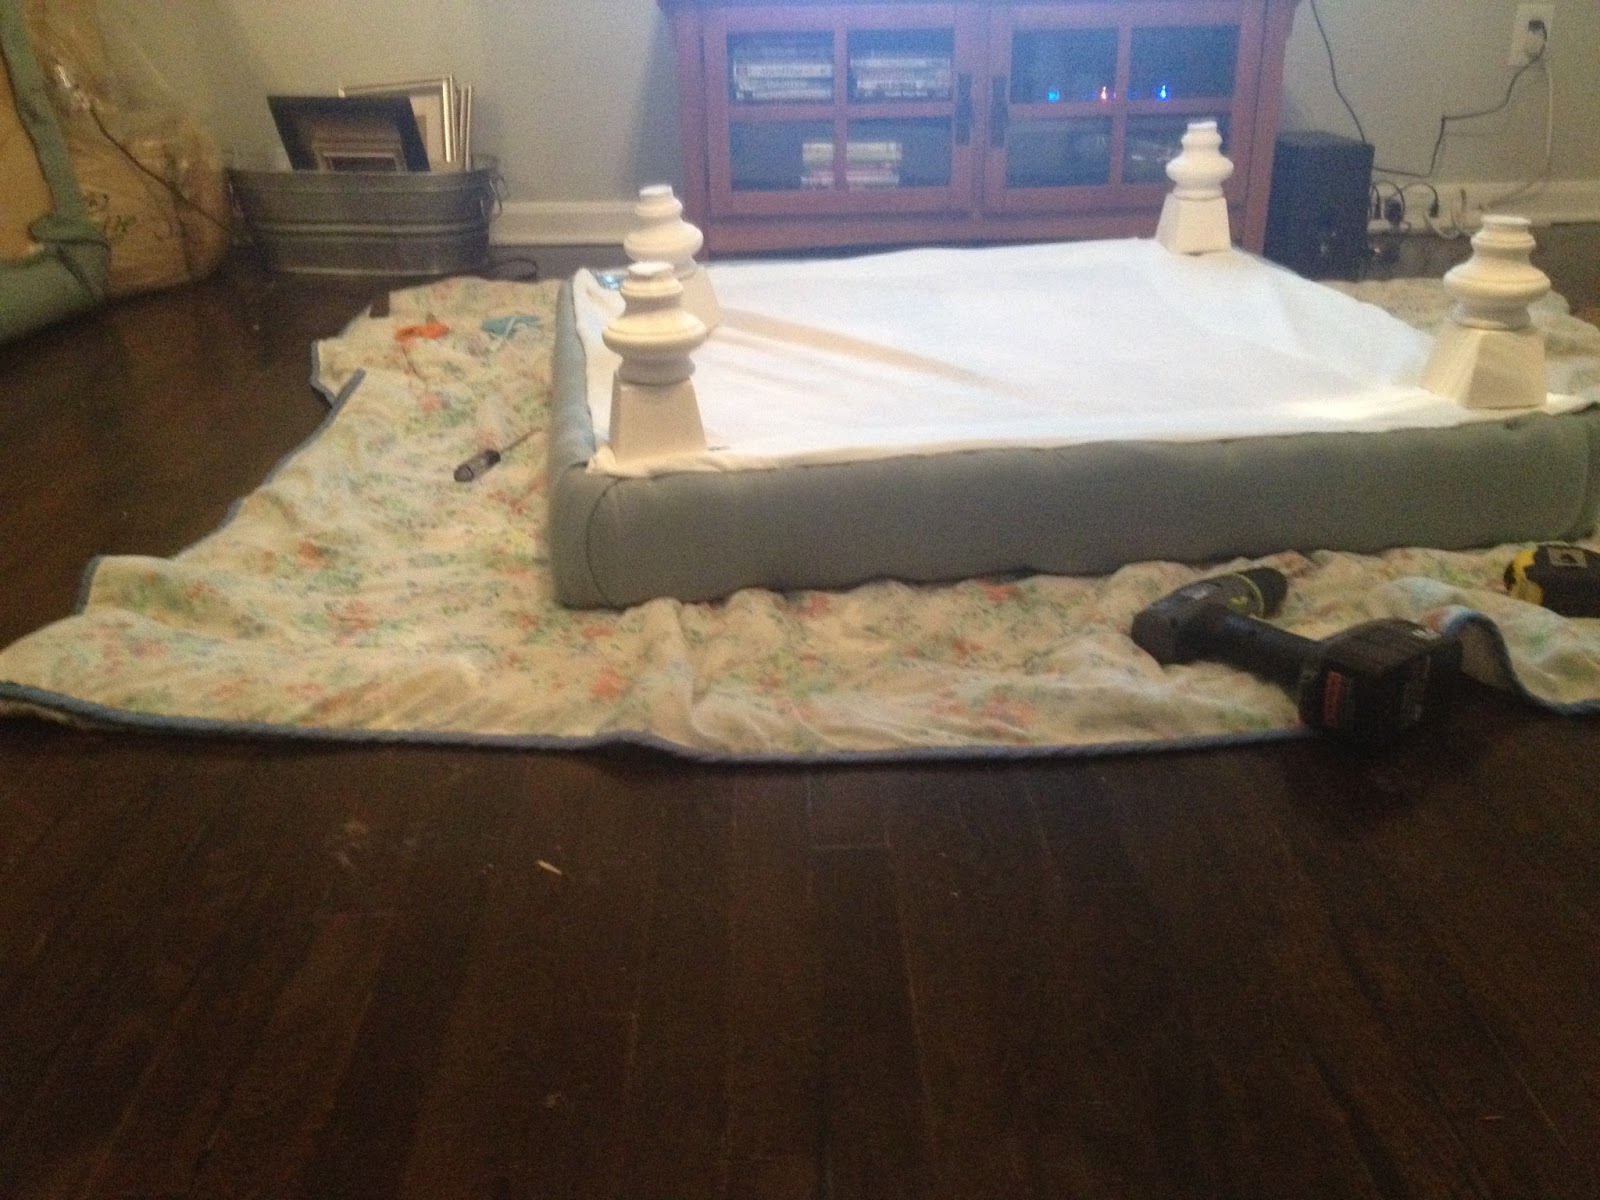
The picture above is the half of the ottoman that contains the pallet, we lined the sides with foam and covered the foam with fabric and attached the legs to the bottom of the pallet.


Here it is in our living room, I love the way it fills the space and coordinates with the rest of the living room without being too matchy-matchy. All things said and done we spent about $180 on this project, due to the sheer size of it we needed a TON of foam ($$$-make sure you use a coupon for Hobby Lobby or JoAnn's for this), batting, and fabric This can definitely be done for less if you choose to make a smaller ottoman!
Thanks for stopping by!
xo,
Steph
I love how it turned out!!! Great ottoman!! I am happy you found my tutorial helpful :-)
ReplyDeleteThank you! We love how it turned out too! Thanks for putting together such a detailed tutorial-it was so helpful!
ReplyDeleteGreat addition to your home. I pinned it.
ReplyDeleteGreat idea!
ReplyDeleteHow did you attach the top and bottom pieces?
ReplyDeleteGreat suggestions, Stephanie! This will help with my NEXT project...covering an old coffee table in order to make it into an ottoman. I'll check out the website you used the tutorial from too!
ReplyDeleteHave fun working on your home together!